The Easiest No-Knead Bread Recipe (The Secret is Kneading!)
Let's talk about bread.
Making bread is overwhelming for most, and it does not need to be. Mixing dough, yeast, fermentation, it all sounds complex, right? Not at all.
If you want to bring out that inner food science guy, make bread at home. It's so simple, and most people overthink it.
Bread has a real bad rap sheet because of gluten. I've been making bread at home on my Steel since I started this Baking Steel journey, and it's easy. And by allowing it to ferment (sit on the counter), the glutens are breaking down so that when we bake it and eat it, it's much more digestible. Our bodies love it.
Just like those friends that come back from Italy and say how they ate bread and pizza for a week straight, didn't gain any weight, and felt like champs when they came home. Guess what? We can recreate Italy in our home kitchen. Use organic flour and ferment it for a day. It's that simple.
And we're using our Baking Steel in our home oven as our hearth oven. This recipe is super simple. You're going to love it.
Why This Recipe Works
After 13 years of making bread on the Baking Steel, I've tested every method, every flour blend, every fermentation time. Here's what I've learned:
The Secret Knead: Most no-knead recipes skip this, but a quick 2-3 minute knead at the beginning ensures there are no dry clumps of flour. It's not about developing gluten, it's about consistency. This one step makes a huge difference in the crumb.
24-Hour Fermentation: Most recipes call for 12-18 hours. I push it to 24. Why? Because a longer fermentation develops deeper, more complex flavor that mimics a sourdough starter. And it breaks down the gluten, making the bread more digestible. That's the Italy effect.
The Flour Blend: I use a mix of bread flour and all-purpose flour. Bread flour gives you the strong structure you need for a good rise. All-purpose adds a micro-layer of softness to the crumb. It's the best of both worlds.
The Baking Steel Method: This is the game-changer. Baking directly on a preheated Baking Steel with a bit of steam creates incredible oven spring and a crispy, crackling crust that's impossible to get with a regular baking sheet. We're turning your home oven into a hearth oven.
The Easiest No-Knead Bread Recipe
Yields: 1 loaf
Prep time: 10 minutes
Rest time: 24 hours
Cook time: 40-45 minutes
Ingredients
- 400 grams organic bread flour
- 100 grams organic all-purpose flour
- 15 grams fine sea salt
- 1 gram instant yeast
- 325 grams water (around 80°F)
Equipment
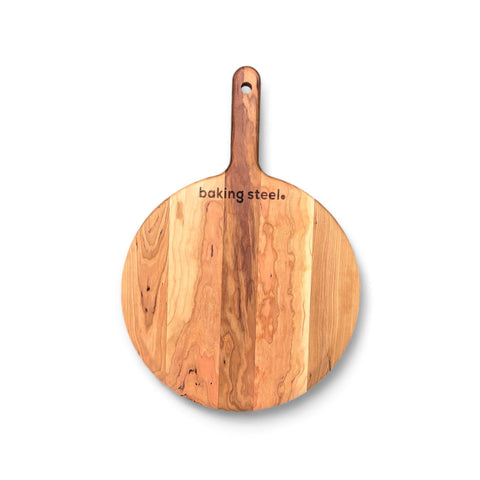
- Baking Steel Original
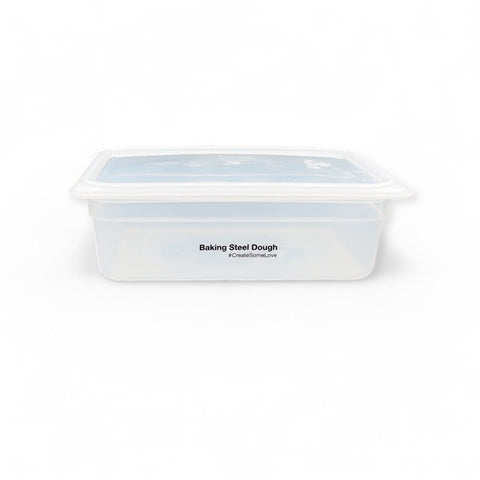
- Baking Steel Dough Container (or large bowl)
- Bread basket or bowl for proofing
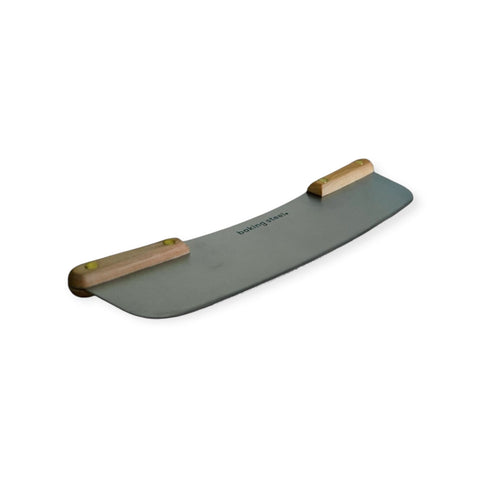
- Bench scraper
- Scoring lame or sharp knife
Instructions
Day 1: The Mix (2 minutes)
1. Combine Dry Ingredients: In your Baking Steel Dough Container or a large bowl, add the bread flour and all-purpose flour. Add the salt and whisk to combine. Then, add the yeast and whisk again. This ensures the salt doesn't kill the yeast.
2. Add Water: Pour in the water and mix with your hands until a shaggy dough forms. There should be no dry spots.
3. The Secret Knead: Remove the dough from the container and knead on a lightly floured surface for 2-3 minutes. This isn't about developing gluten; it's just to make sure there are no dry clumps of flour.
4. Bulk Fermentation: Place the dough back in the container, cover, and let it rest at room temperature for 24 hours. You'll see bubbles forming, and the dough will more than double in size.
Day 2: Shape and Bake
1. First Shape: After 24 hours, lightly flour your work surface and gently remove the dough from the container. It will be sticky and full of air. Form the dough into a rectangle, then fold it over in half. Take each of the four corners and lightly press them into the center. Flip the dough so the seam side is down. Cup your hands around the dough and gently pull it towards you to create tension and form a tight ball. Let it rest for 15 minutes.

2. Final Shape: Repeat the tightening process one more time. Gently rotate the ball, cupping your hands and sliding them underneath to create a tight, round shape.

3. Final Proof (The GROW Method): Place the dough seam-side up in a well-floured bread basket or a bowl lined with a floured tea towel. Let it rest for 1-2 hours. This is the crucial GROW phase:

The GROW Method
G - Gas: The yeast is refilling the dough with CO₂ after shaping, creating the air pockets that will become your beautiful crumb.
R - Relax: The gluten, which was tightened during shaping, is now relaxing, allowing the dough to expand evenly.
O - Open: The crumb structure is opening up, ensuring a light, airy interior instead of a dense, gummy one.
W - Window: The surface of the dough is becoming dry and taut, creating the perfect "window" for scoring.
This phase is crucial for achieving great oven spring and a consistent bake. Don't rush it!
4. Preheat: While the dough is in its final proof, place your Baking Steel on a rack in the middle of your oven and preheat at 450°F on convection for at least 45 minutes.
5. Score and Launch: Gently flip your dough out of the basket and onto a lightly floured pizza peel. Make one decisive score across the top of the loaf with a lame or sharp knife, about 1/2 inch deep. Launch the dough onto your preheated Baking Steel.

6. Add Steam: Carefully toss a few ice cubes onto the floor of your oven (not on the Steel!) and quickly close the oven door. This creates a burst of steam that helps the bread achieve maximum oven spring.
7. Bake: Bake for 20 minutes. Then, open the oven to release the steam and reduce temperature to 400°F, continue baking for another 20-25 minutes, or until the crust is deeply golden brown and the internal temperature reaches 205-210°F.
8. Cool: Let the bread cool on a wire rack for at least an hour before slicing. This is the hardest part, but it's essential for the crumb to set properly.

The Final Touch
There's only one thing left to do: slice a thick piece, slather it with some good room-temperature butter, and share it with someone you love. That's what this is all about.
Frequently Asked Questions
Is homemade bread healthier than store-bought?
Absolutely. When you ferment dough for 24 hours, the yeast breaks down the gluten, making it much more digestible. That's why people can eat bread in Italy for a week and feel great—it's fermented properly. Store-bought bread is rushed through production with minimal fermentation, which is why so many people have issues with it. When you make bread at home with organic flour and give it time to ferment, your body processes it completely differently.
Do I need a Baking Steel to make this bread?
No, but it's a game-changer. I've been using the Baking Steel as a hearth oven in my home kitchen for over a decade. Steel stores and transfers heat better than any other surface—better than a baking sheet, better than a Dutch oven, better than a pizza stone. It creates that crackling crust and incredible oven spring that you get from a professional hearth oven. If you're serious about bread, it's worth the upgrade.
Can I use regular flour instead of organic?
Yes, but I always recommend organic. Organic flour ferments better because it doesn't have the additives and bleaching agents that regular flour has. The yeast works more efficiently, and the flavor is noticeably better. If you're going to spend 24 hours fermenting dough, use the best flour you can get.
What's the difference between this and sourdough?
Sourdough requires maintaining a starter, which is a commitment. This recipe mimics the complex flavor of sourdough without the starter maintenance. The 24-hour fermentation develops similar depth and tang, and the fermentation process breaks down gluten just like sourdough does. It's the best of both worlds—sourdough flavor without the daily feeding.
Why do you use a mix of bread flour and all-purpose flour?
After 13 years of testing, this blend is what I've found works best. Bread flour provides the strong gluten structure needed for a good rise. All-purpose flour adds a micro-layer of softness to the crumb, creating the perfect texture. It's not too chewy, not too soft—just right.
Why bake at 450°F?
This is the sweet spot for no-knead bread. It's hot enough to create powerful oven spring and a crispy crust, but not so hot that the crust burns before the inside is fully cooked. I've tested higher and lower temperatures. 450°F is the magic number.
Why use convection?
A convection oven has a fan that circulates hot air, ensuring the bread bakes evenly and develops a beautiful, uniform crust. I always recommend using it if you have it. The airflow helps create that professional bakery crust.
Can I use a different type of yeast?
Yes, but you may need to adjust the amount. If using active dry yeast, you might need slightly more (1.25 grams) and should bloom it in the water first. I use instant yeast because it's more consistent and you can mix it directly with the flour.
How do I know when the final proof is done?
You can do the "poke test." Lightly flour your finger and gently press it into the dough. If the indentation springs back slowly, it's ready. If it springs back immediately, it needs more time. If it doesn't spring back at all, it may be over-proofed. This is something you develop a feel for over time.
What is the GROW Method?
GROW is a method I use for understanding the final proof phase: Gas (yeast refills CO₂), Relax (gluten relaxes after shaping), Open (crumb structure opens evenly), and Window (surface becomes score-ready). This phase is crucial for achieving great oven spring and a consistent bake. Don't rush it. Let the dough do its thing.
Can I skip the 2-3 minute knead?
While this is called a no-knead recipe, the secret is actually kneading for 2-3 minutes at the beginning. This ensures there are no dry clumps of flour, leading to a more consistent crumb. It's a quick step that makes a big difference. I've tested it both ways. Trust me on this one.
Why 24 hours instead of 12-18 hours?
A 24-hour fermentation develops deeper, more complex flavor that mimics a sourdough starter. The longer fermentation allows the yeast to break down more of the flour, creating better taste and texture. And it breaks down the gluten, making it more digestible. That's the Italy effect. If you want that "I ate bread in Italy and felt amazing" experience, ferment for 24 hours.
About the Author
Andris Lagsdin is the inventor of the Baking Steel. He's been making bread and pizza at home on the Steel for over 13 years, teaching thousands of students along the way. "If you want to bring out that inner food science guy, make bread at home," he says. "We can recreate Italy in our home kitchen." When he's not in the kitchen, you can find him watching his son play hockey or enjoying a slice of his latest creation.